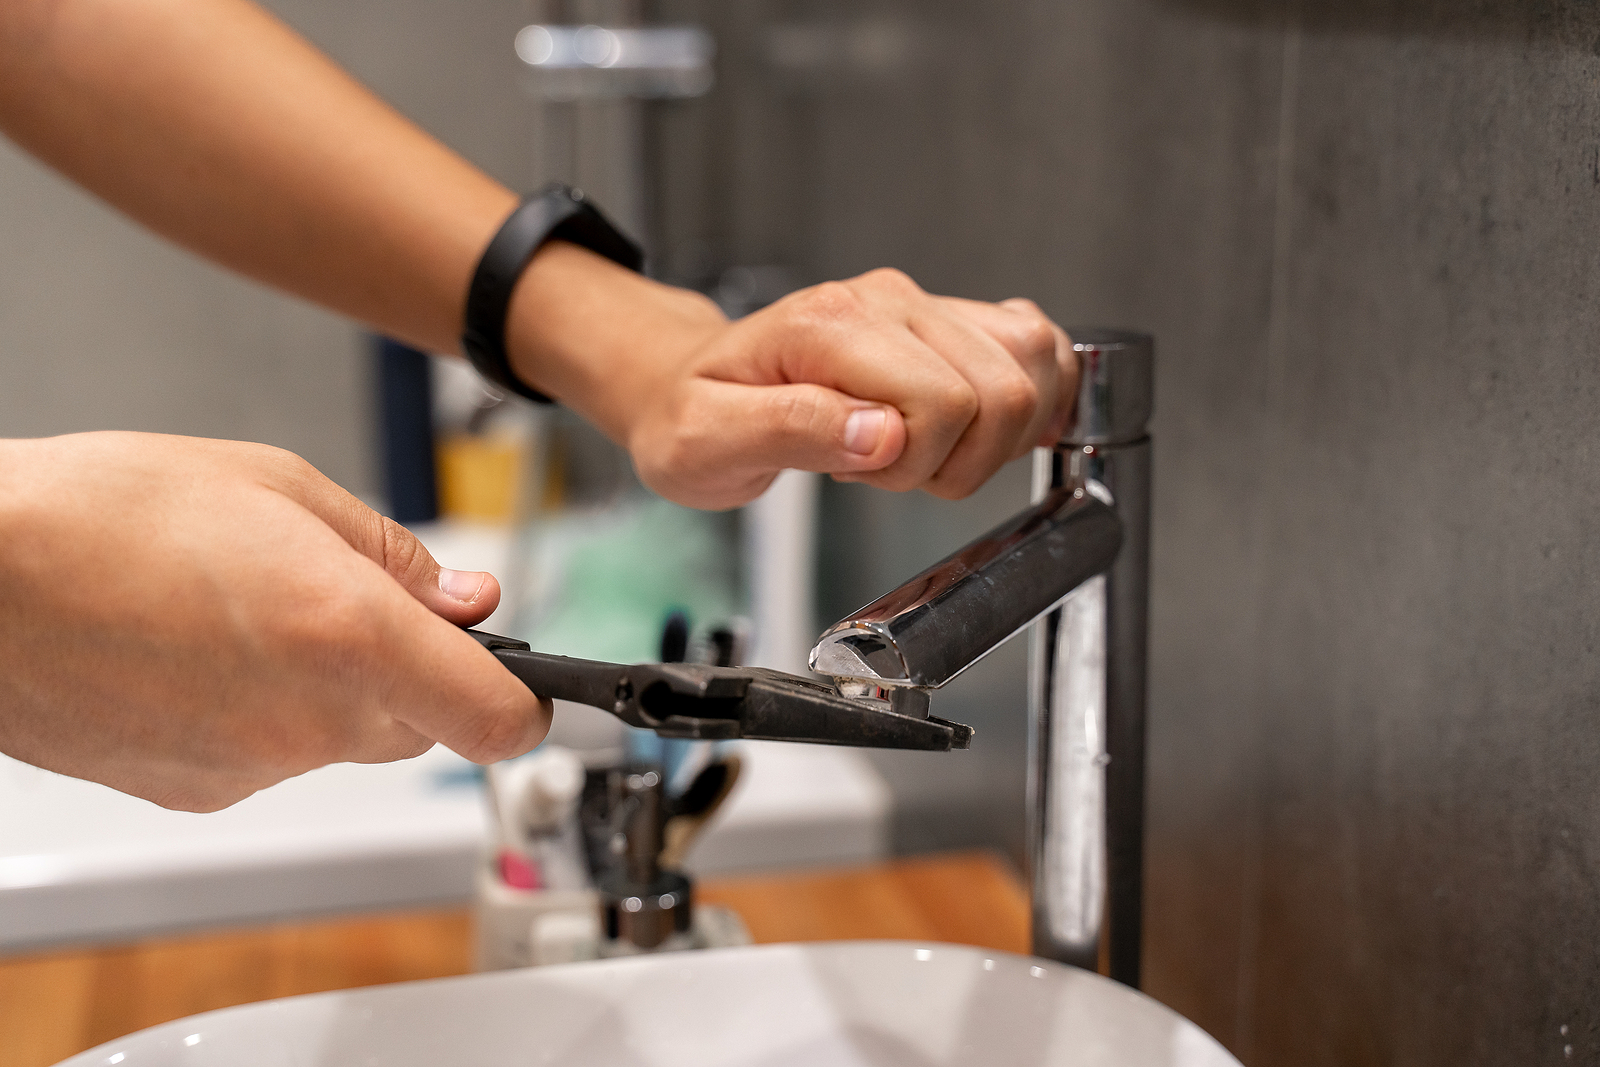
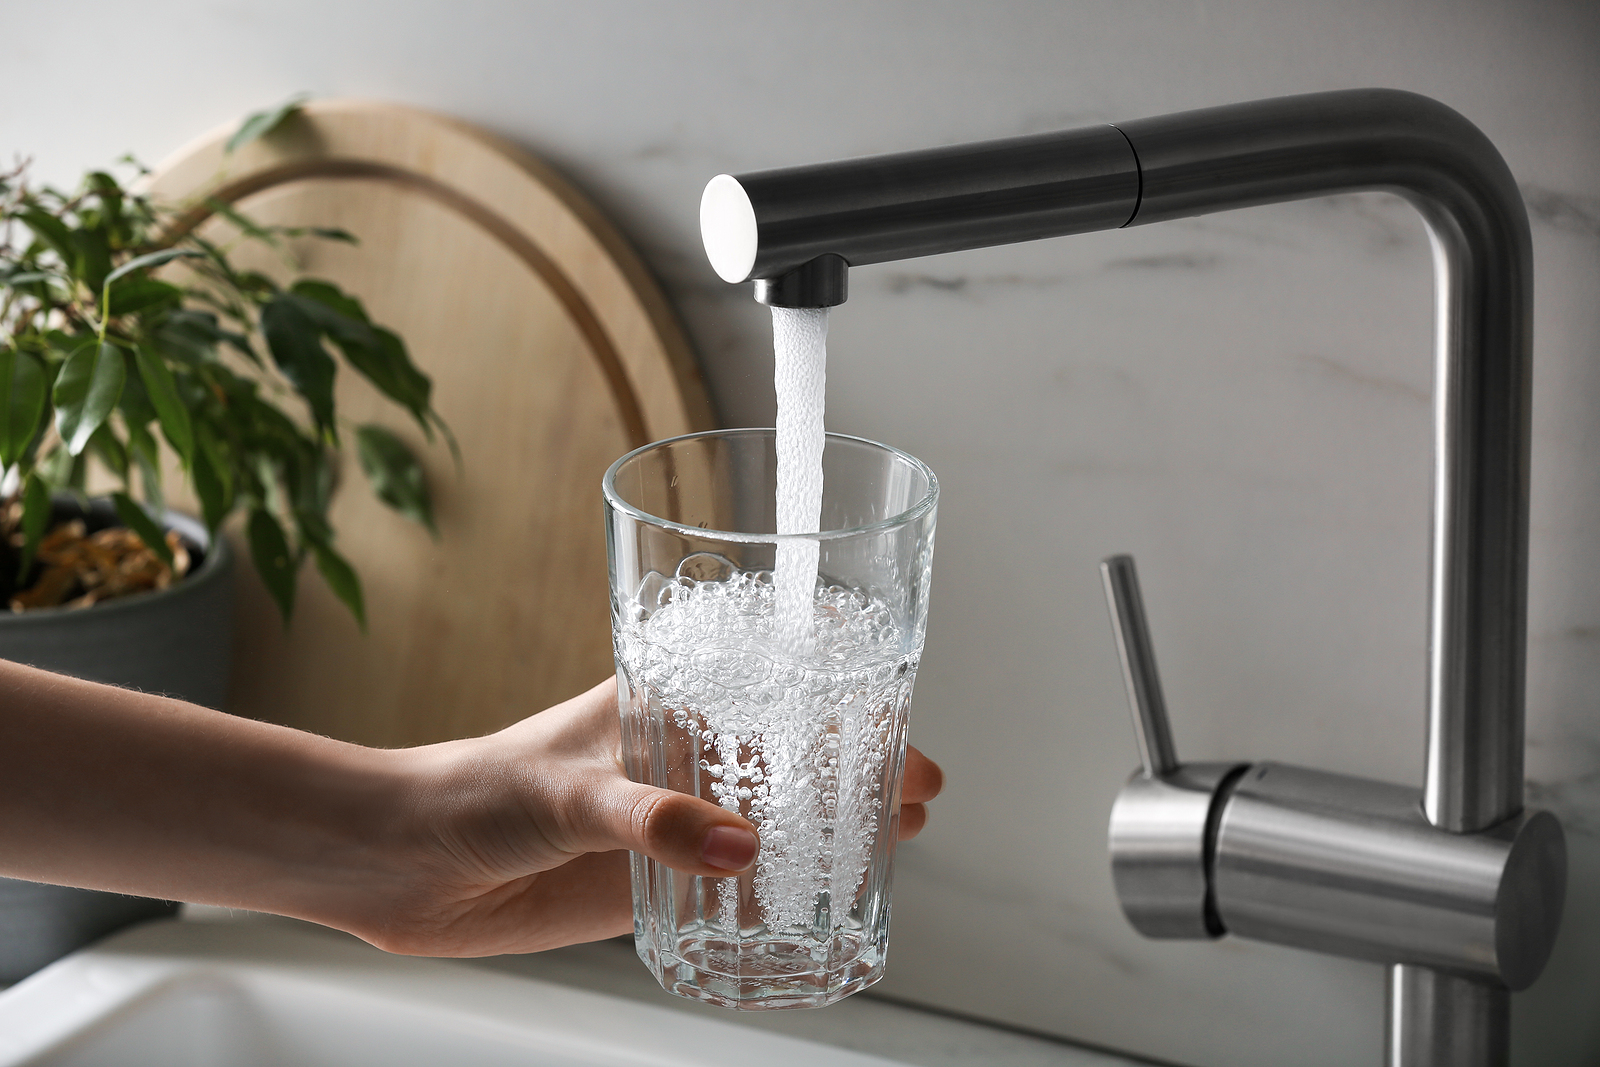
Is the sound of a dripping kitchen faucet driving you crazy? It may also be causing your water bill to soar.
The good news is that fixing it is easier than you might think. This blog post shows how to fix that pesky drip and save water and your sanity.
Step 1: Gather Your Tools

Before getting started, make sure you have the necessary tools handy. Here’s what you’ll need:
- Adjustable wrench
- Screwdriver (both flathead and Phillips)
- Replacement parts (such as O-rings and washers) specific to your faucet model. You can find these at a hardware store or online
- Plumber’s grease
Step 2: Turn Off the Water
Locate the shut-off valves (typically resembling an outdoor faucet) under the sink and turn off the water supply to avoid any unwanted surprises. Clockwise usually closes the valve. Once the water is off, turn on the faucet to release any remaining water in the pipes.
Step 3: Disassemble the Faucet
Now it’s time to take apart the faucet. Start by locating the handle and removing any decorative caps or covers. Use a flathead screwdriver to carefully pry them off. Underneath, you’ll find screws holding the handle in place. Use the appropriate screwdriver (flathead or Phillips) to loosen and remove these screws. Once the screws are out, gently lift off the handle.

Step 4: Identify the Problem
With the handle removed, you’ll now have access to the inner workings of the faucet. The most common culprits for a dripping faucet are worn-out O-rings and washers. Examine these parts for signs of damage, such as cracks or tears. If they look worn or damaged, it’s time to replace them.
Step 5: Replace the O-Rings and Washers
Carefully remove the old O-rings and washers using your fingers or a screwdriver. Take note of their size and shape; you’ll need to find suitable replacements. Take the old parts to a hardware store to ensure you get the correct ones. Once you have the new O-rings and washers, lubricate them with the plumber’s grease and carefully install them instead of the old ones.
Step 6: Reassemble and Test
With the new O-rings and washers in place, it’s time to put everything back together. Start by reattaching the handle and tightening the screws. Then, place the decorative caps or covers back on and press them firmly into place. Now, turn the shut-off valves back on to restore the water supply.

Step 7: Check for Leaks
Once the water is back on, turn on the faucet and observe. Is the drip gone? Keep an eye out for any leaks around the handle or spout. If you notice any leaks, you might need to recheck the installation of the O-rings and washers or tighten the faucet components further.
Congratulations! You’ve successfully fixed a dripping kitchen faucet all by yourself. Not only have you saved water, but you’ve also gained valuable DIY skills.


